 |
 |
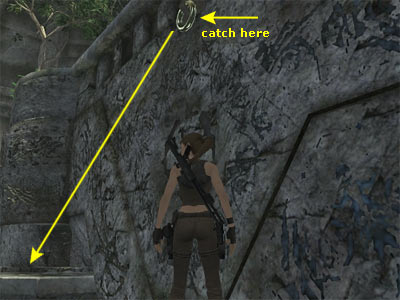
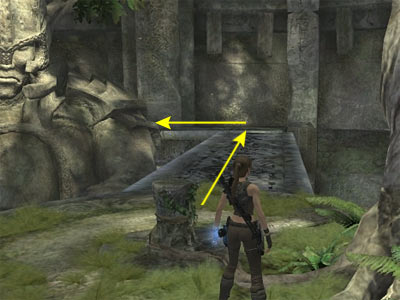
Go almost halfway across the walkway and hang from the left edge. Traverse close to the metal ring, release and quickly throw the Grapple cable to catch the ring. |
Climb down a bit and wall run to reach the ledge on the left. |
 |
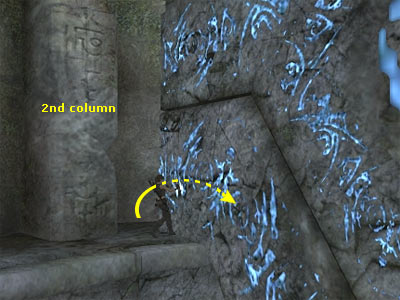 |
Grab the wall and pull it. Keep pulling until you pass the first column on the left. |
Stop somewhere between the first and second pillar. That way, you will leave some space for Lara to go around the wall and reach the other side (behind the wall). |
 |
 |
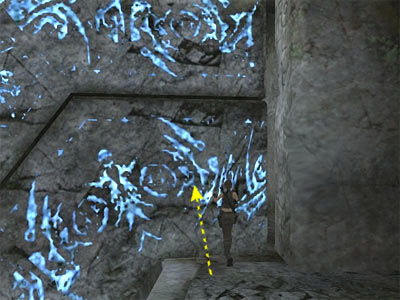
Do that, grab the wall and push it to the end (until Lara stops). |
Use the Grapple to catch the metal ring on the wall and wall run to reach the ledge in the middle of the room. |
 |
 |
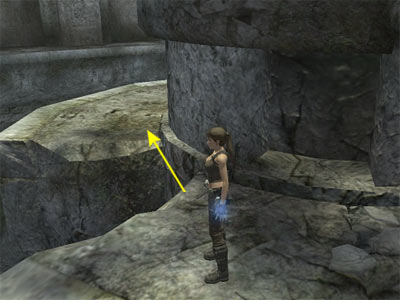
Go left and jump the gap. |
Climb up the panel to reach the circular platform with the empty pedestal. |
 |
|
Cross the walkway and go left behind Thor's left shoulder. Pick up the Relic and return back to the circular platform. |
Tomb Raider 8: Underworld Walkthrough & Game Guide © 2000-2009 www.tombraiderhub.com
All rights reserved. All trademarks recognised.